Next playthrough plan: Tuxborn modpack!
Y’all. Y’all.
To my great excitement, I learned on Mastodon about a modpack for Skyrim called Tuxborn, which is explicitly designed to work on the Steam Deck. I follow SteamDeckHQ (@steamdeckhq) there, and they put up this article which made me sit up and take notice:
My experiences to date trying to get into modding on the Deck have demonstrated to me so far that this is very much a niche case… but to see this made me go OH HOLY CRAP I HAVE FOUND MY PEOPLE. And when I started digging into the info on this modpack and saw the sheer staggering number of mods in it, many of which are actively already on my radar as things I want to try, I knew immediately I had to try this out.
Using Wabbajack and MO2 instead of Vortex
As regular readers of this blog know, up till now I’ve been doing all my modding in Vortex. Tuxborn, however, uses Wabbajack to do all the heavy lifting of putting all the mods together–and its own install of Mod Organizer 2 to actually launch everything.
I’ve dabbled a bit with MO2, but not in any depth yet. My main blocker for using it so far has been that MO2 does not work in my Windows 11 VM on my MacBook; it’s not built to work on ARM builds of Windows. And while I do my primary gaming on my Deck, I do like to maintain ability to play in the VM for the rare occasions when I’m in the mood to play Skyrim on the computer.
Similarly, while it is possible to get MO2 onto the Deck, so far in my experience it takes a bit more hoop-jumping than getting Vortex to run does.
But since Tuxborn explicitly uses both MO2 and Wabbajack, I figured this would also be a great excuse to familiarize myself with both of those tools.
So I dived in!
Installation process
The Tuxborn docs basically describe two paths of action you can follow if you want to put Tuxborn on your Deck:
- Install everything on a PC first, and then copy everything down to the Deck
- Follow their (experimental) guide to installing Wabbajack on the Deck, and bypassing the need to have a PC involved at all
At first I thought I’d try the guide. When I reviewed it, I saw that its various steps looked a lot like stuff I’ve had to do to get my Vortex-based playthroughs running. So none of it seemed outside my scope of Deck geekery.
But, I was curious about whether Wabbajack would actually run in the VM. So I actually decided to try that first, as a test, with the plan that if that bombed I’d punt to using the guide instead.
And I learned right out of the gate, to my surprise, that Wabbajack does in fact run just fine in my Windows VM. So that was very good to know.
Once Wabbajack was live in the VM, I proceeded to the part where I had to download all the mods. Tuxborn’s docs recommend you have a Nexus Premium account for this, and they are not wrong. I had to ditch my Premium account due to my ongoing unemployment. And I’m here to testify, even if you have good business-grade Internet like my household does, it still takes a long goddamn time to download nearly 1,600 mods.
So for anybody who plans to give this a try, if you don’t already have a Nexus Premium account, consider getting one if your budget allows. Otherwise, allocate a lot of time to download all the things!
This was also part of my decision to try this in the VM first–because I do other gaming on the Deck, not only my current Skyrim playthrough, but also all the stuff I do in ESO. So I didn’t want to tie up the Deck for a couple of days running, doing nothing but downloading. Doing this in the VM meant I was able to keep doing other regular gaming on the device.
Letting Wabbajack download all the things mostly worked just fine, with only a couple of minor hiccups. I had to restart Wabbajack at least once, and at the end of the download process, it had to re-download four mods… because it was smart enough to check that it had everything, and go back and get the things it had failed to download before. Which was impressive to me, well done there, Tuxborn!
And one other hiccup I had to solve was that I had not allocated enough disk space to the VM to let it actually handle all the mods. That was fixable in Parallels, though. I’d previously allocated 256GB for that VM, so I bumped that up to 512GB. This solved that problem just fine.
The thing I was not able to solve, though, was that MO2 was indeed problematic in the VM. I got as far in the process as MO2 finally loading. But I was not able to launch Skyrim. I looked in the logs for the modpack, and saw error messages complaining about incompatible versions of a library called Qt–which apparently is related to the UI of MO2.
So this smelled to me like a big ol’ “MO2 does not do ARM Windows” problem. And it was time to punt to plan B.
The Tuxborn Discord told me that since I’d already done all the Wabbajack work on my computer, I could just copy the entire resulting directory structure down to the Deck. I wouldn’t have to actually have to follow their guide to installing Wabbajack on the device at all. Which was a bit of a relief! I didn’t think I’d have any difficulty with it, as I noted above. But I have seen in my past experience that if you’re going to do any serious work on the Deck, it’s best to go in via VNC. And this meant I wouldn’t even have to do that.
At the recommendation of the Discord, I first made backup copies of all the downloaded mod files, since I wouldn’t need to move those down to the Deck–I just needed everything else.
So I pulled all of those out of the VM into a backup directory on the Mac side, and then pulled everything else for Tuxborn into a separate Mac side directory. And in that latter directory, I wound up with a total of 486,937 files.
Since I’d previously done the work to let me SSH into the Deck, that meant copying all those files to the Deck would be trivial. But I did have to do it Mac side, not inside the VM, because I needed access to the scp command. But once all the files were out of the VM, an scp in the Mac command line was literally all I had to do to get all that stuff down to the Deck.
As with the download of all the mods, this took a long time. Not quite as long as the original download, but it still took almost an entire day. Because moving nearly 500,000 files from point A to point B, even over a house LAN, is still a huge operation!
It did finally finish, though, so I was able to proceed to the next step.
Deck-side configuration
With all the Tuxborn files finally on the Deck directly, that made my next task doing a bit of manual prep. I added the Tuxborn executable (basically a Tuxborn-branded install of MO2) as a non-Steam game, and pointed it at Proton Experimental.
Then I followed the instructions to Using the omni-guides.sh Automation Script. Which mostly worked splendidly, though I also made the mistake of not telling it to set a screen resolution. (More on this shortly.)
And I also followed the recommended instructions to install CryoUtilities, which lets you finesse the performance on the Deck. It gives you a more user-friendly way to get at the VRAM settings, but it also lets you set up a swap file and adjust settings for it. Both of which were highly encouraged for Tuxborn.
Then, finally, I tried to launch.
Starting the game
MO2 did load up when I started it, but it seemed to hang the first time I did so. It got as far as putting some shaders together, but then never actually launched anything. I restarted MO2, though, and the next time through it did launch okay.
The game in this situation does take a little longer to load than a more traditional Skyrim install, be warned. On my Deck, it took roughly five minutes for the game to finally get to the main menu.
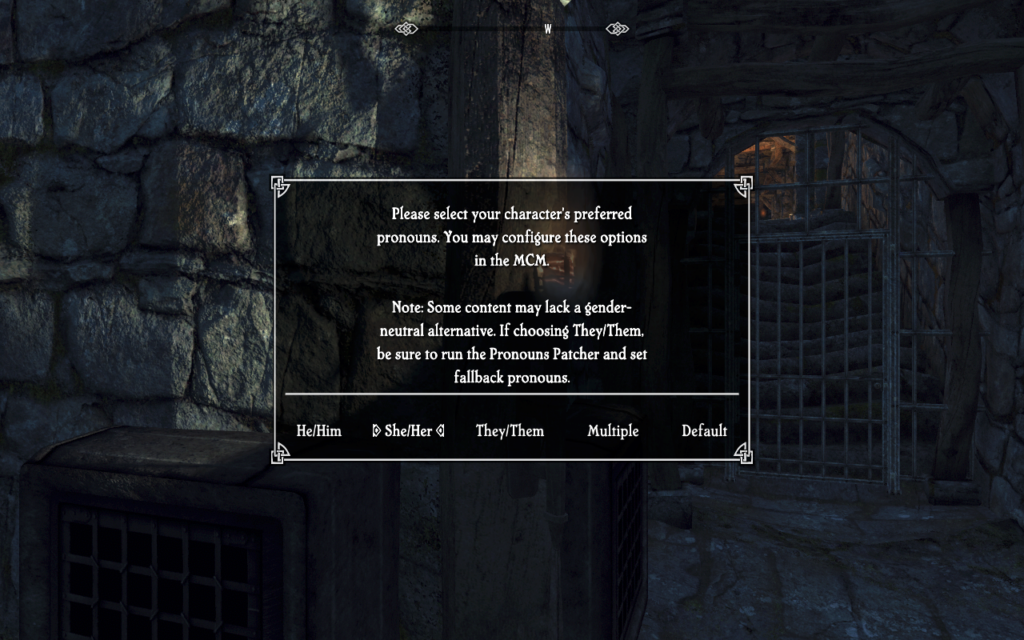
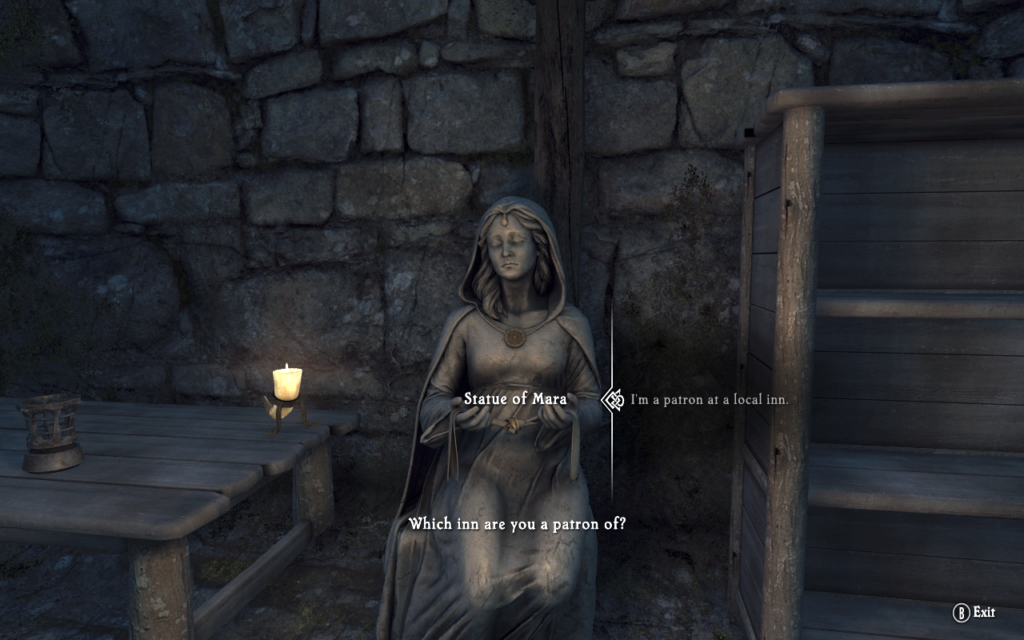
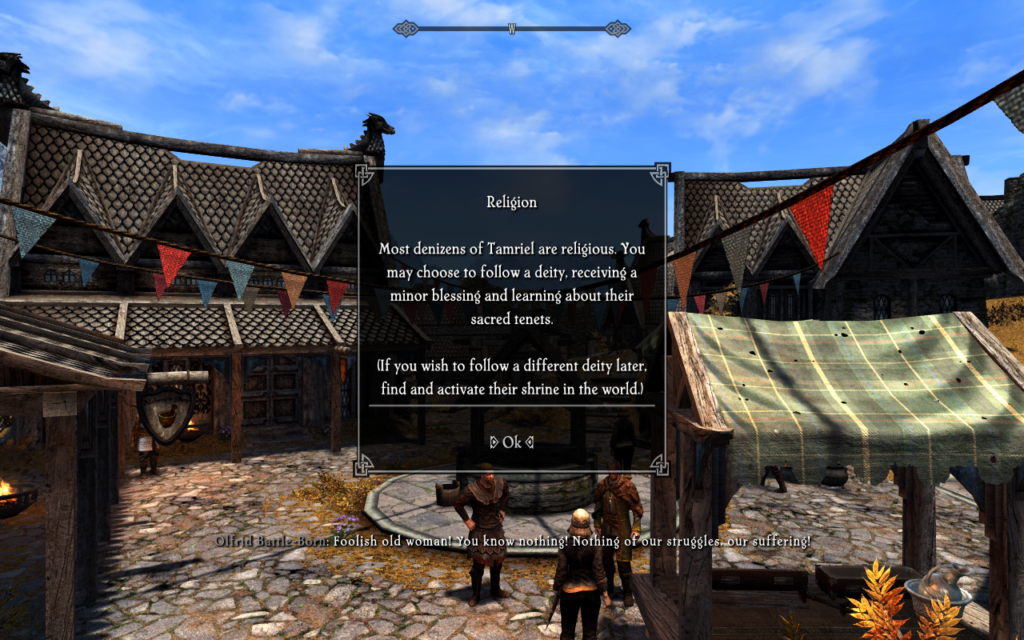
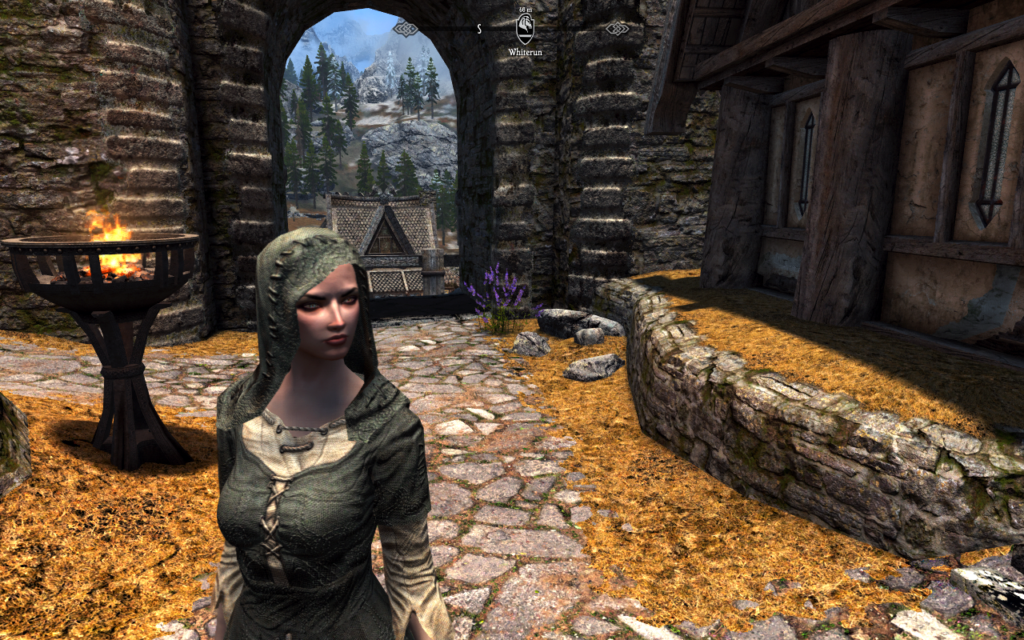
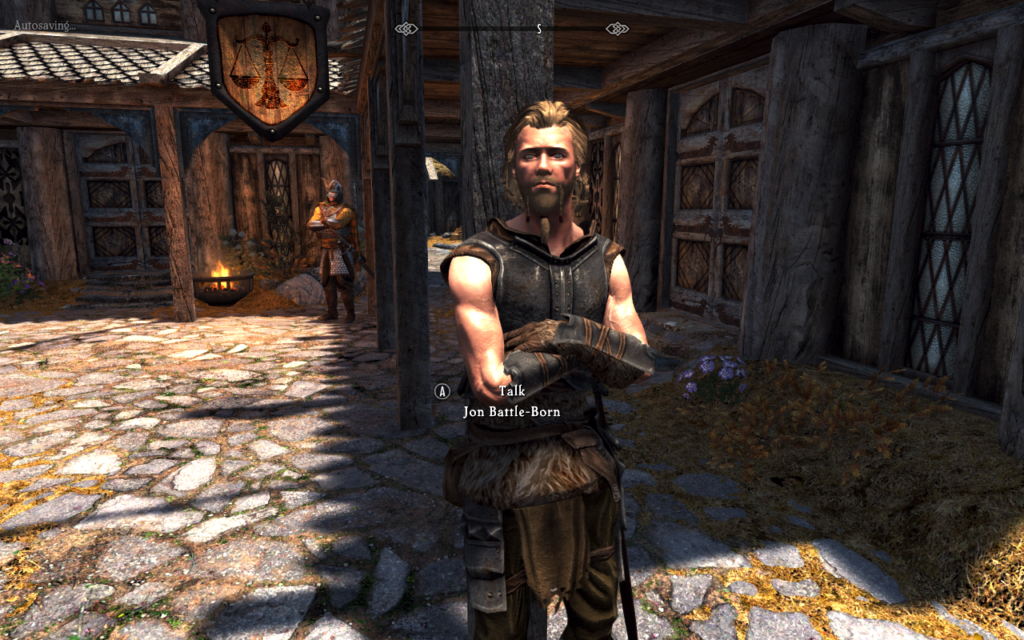
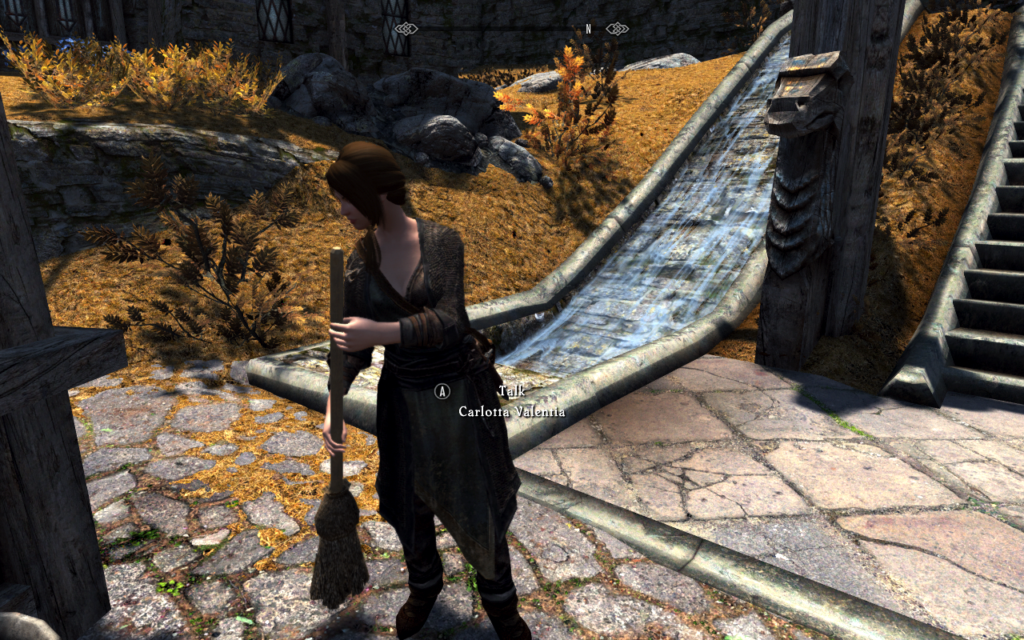
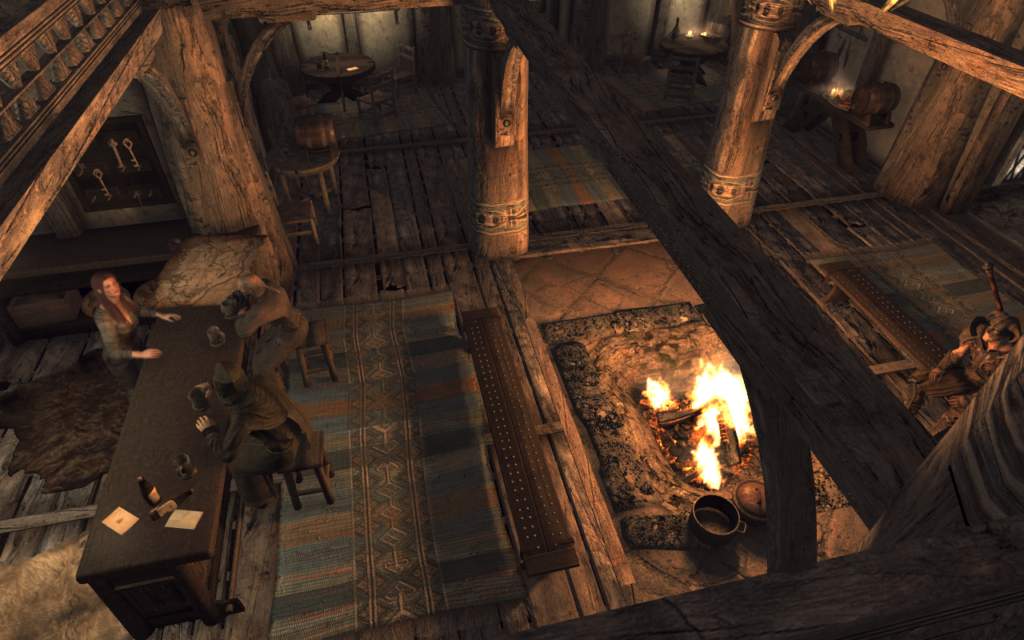
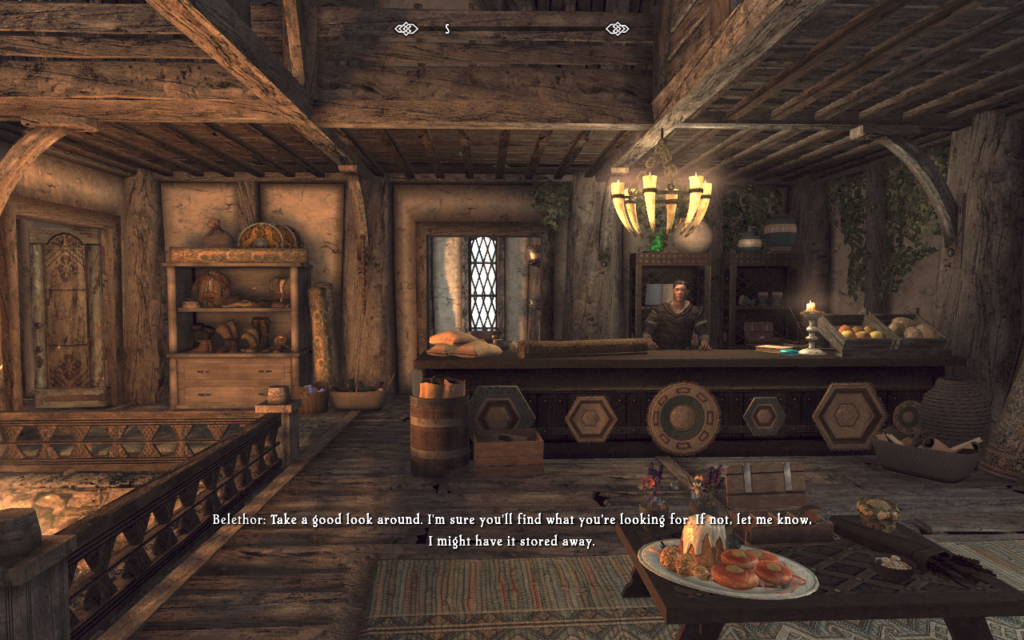
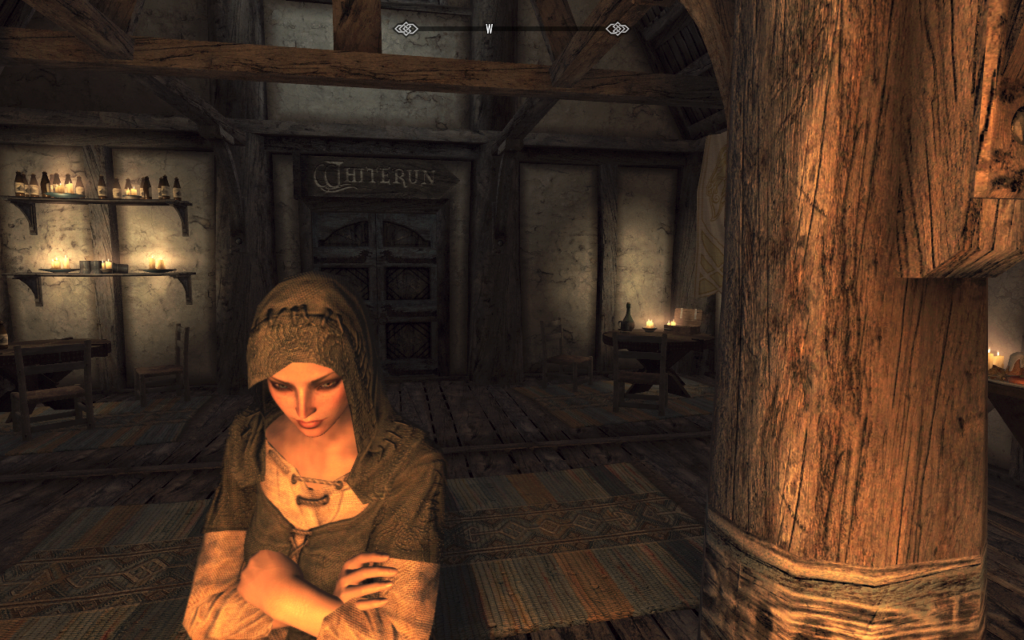
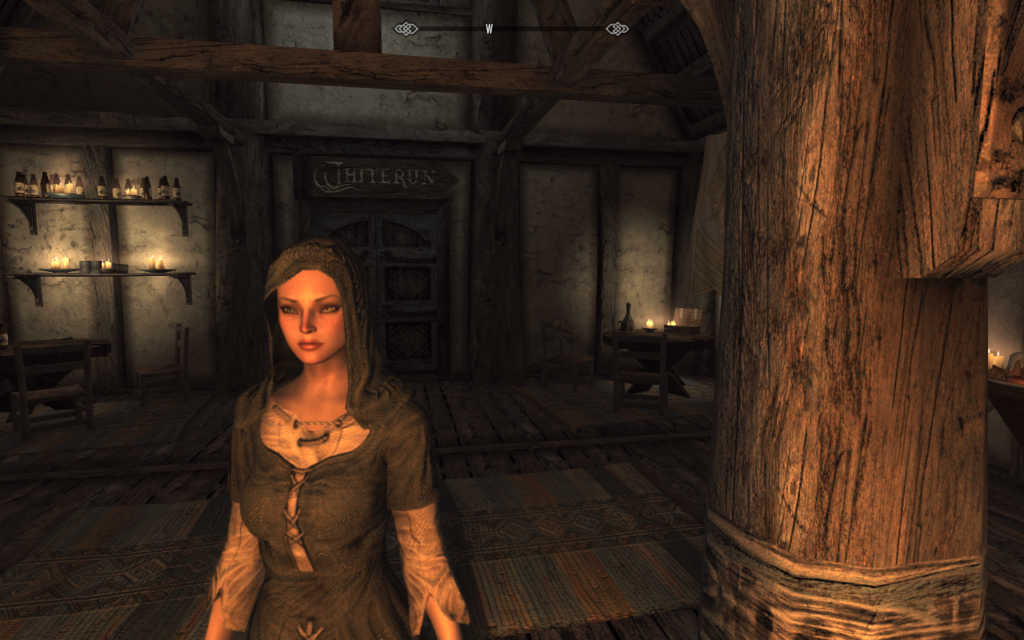
Once I got in, I successfully launched RaceMenu and Alternate Start, and I created a test character. I told Alternate Start to just drop me in Whiterun as a patron of the Bannered Mare, so I could derp around Whiterun and experiment with the different setup this modpack has vs. how traditional Skyrim works.
But I also quickly learned two important things.
One: my resolution was off. I was seeing the level bar on the loading screens overlapping off the right edge of the screen, and the little text blurbs that show up on the screens at the bottom were doing the same thing. So I had to solve that problem.
The solution: I’d neglected to tell the setup script I ran to set a resolution. That turned out to be the wrong choice. I thought it would set the resolution for the Deck by default, but no. Fortunately, this was easily fixed. I consulted the guide for manually configuring Tuxborn on the Deck, and in step 6, that has instructions on how to set resolution by editing the INI file directly inside MO2. So I went in there, found the line that set the resolution (which by default already had 1280×800), but which was commented out. All I had to do was uncomment it and save the change.
And two: a thing I really like about the Tuxborn setup is that it provides a total of six different configuration profiles for you to choose from, four for the Deck and two if you happen to want to try to play the modpack on a desktop PC. Some of the profiles use a fancy new combat system called BFCO–and apparently this doesn’t play exactly nicely with RaceMenu or with the functionality the modpack provides for “Photo Mode”, i.e., taking screenshots.
So my first attempt at a test character was with the 40fps BFCO Deck profile… but since this interfered with Photo Mode, I then punted to making a test character with the 40fps non-BFCO profile instead.
Because as y’all know, taking screenshots is extremely important to me for blogging my playthroughs! 😀
Last test
I noted with interest that Tuxborn’s files are all separate from the main Skyrim install, and from the mods set up by Vortex. Which meant, much to my relief, that the Tuxborn setup can peacefully coexist with my Vortex setup. I confirmed this by making sure I could still in fact load Kendeshel’s playthrough.
The one thing I may need to look out for in the future with this is that by default, Tuxborn is not saving its saves out to the Steam Cloud. But this also seems solvable, as per the Tuxborn Discord, so I’ll probably take care that before starting a real playthrough.
Playthrough plans
So now that I know this works, I am super excited to try it out. This modpack contains a staggering amount of mod content, some of which I’ve already now played, but a lot of which I haven’t.
Most notably, it’s got v6 of Legacy of the Dragonborn, which I absolutely want to run. And it’s also got a bunch of the custom followers I’m interested in checking out.
But I need to think some about exactly how I want to approach this new playthrough. Right now I’m kinda leaning towards doing take two of Harrowhark, just because her playthrough broke, and that suggests doing a vampire/necromancer themed run. Those of you who’ve read the Locked Tomb books will also understand what I mean when I say I’m also inclined to try a Nona take on the character, too. ;D
This modpack includes Sacrilege, which has been recommended to me as a better way of running a vampire. So that also interests me as a potential approach for re-doing Harrow.
Given that this load order does also feature Legacy of the Dragonborn, though, I’m going to need to think about how I want to play that in conjunction with a potential vampire playthrough.
So I’m going to mull this a bit, while I finish out Kendeshel’s playthrough. Stand by for more on this, y’all!
And speaking of screenshots
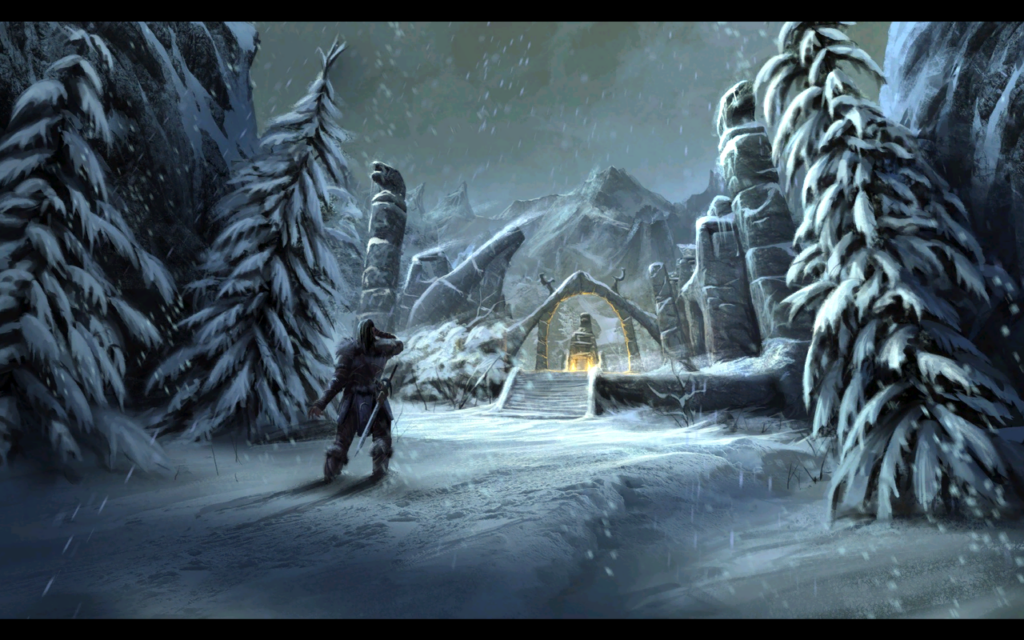
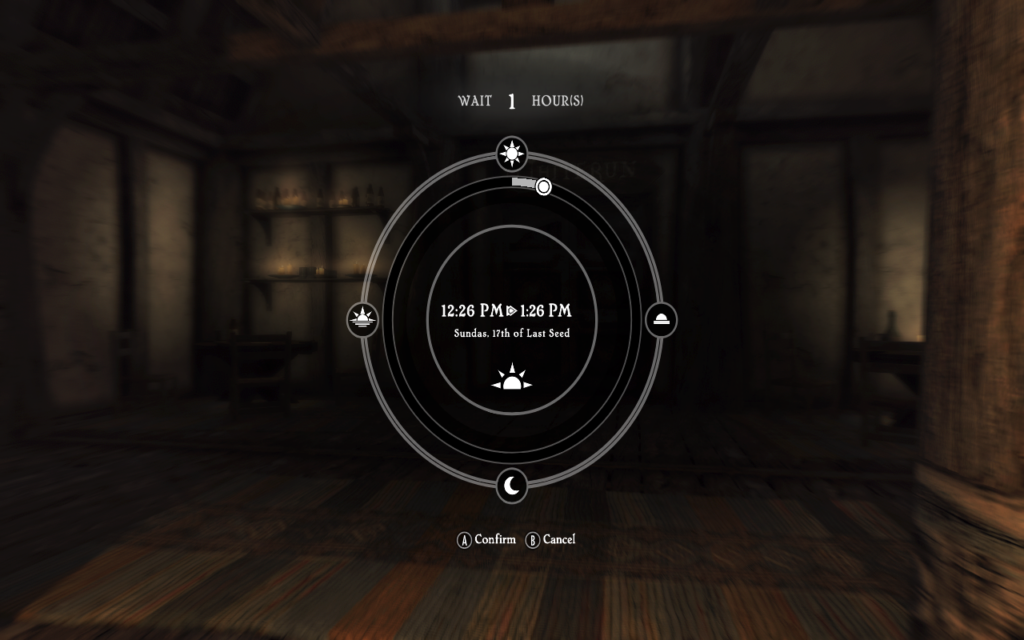
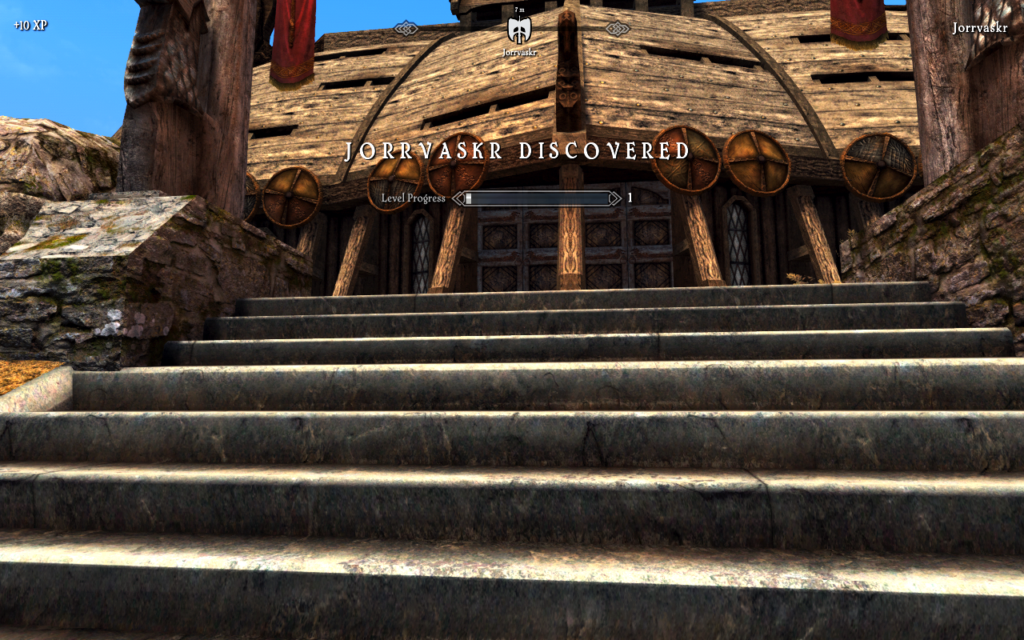
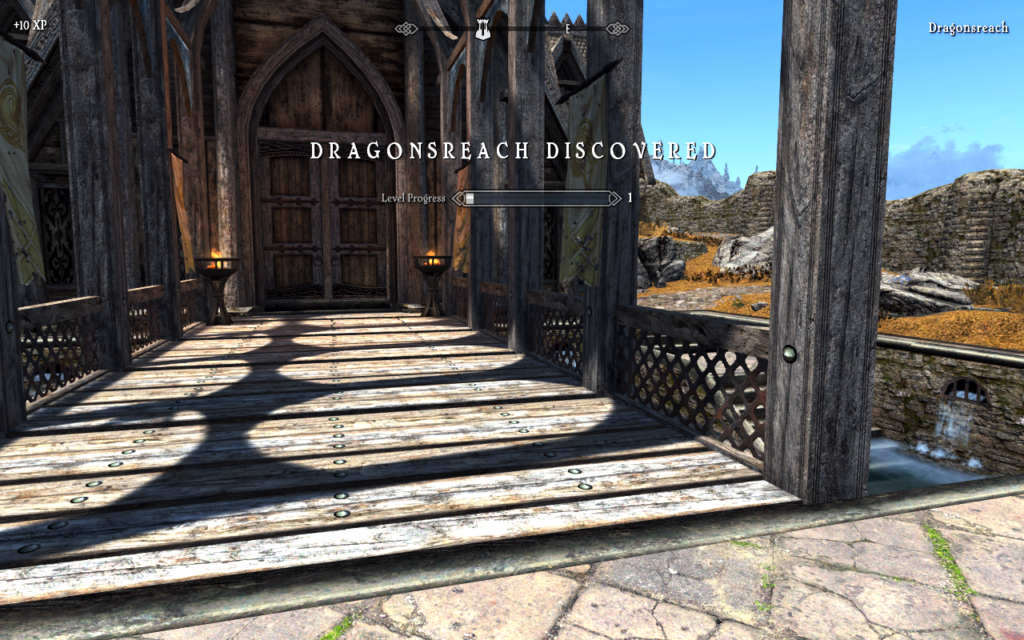
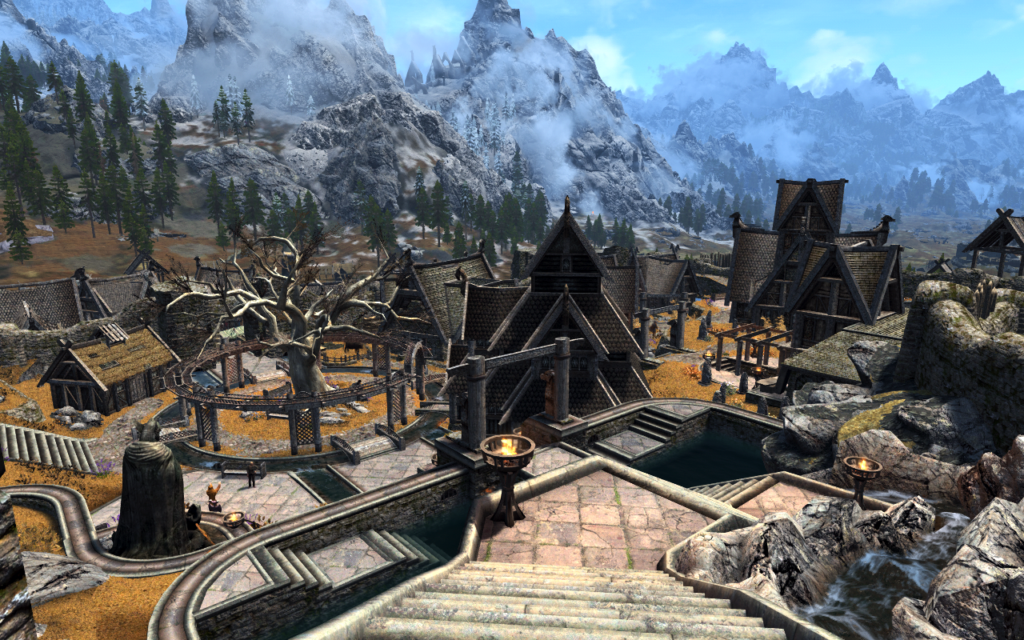
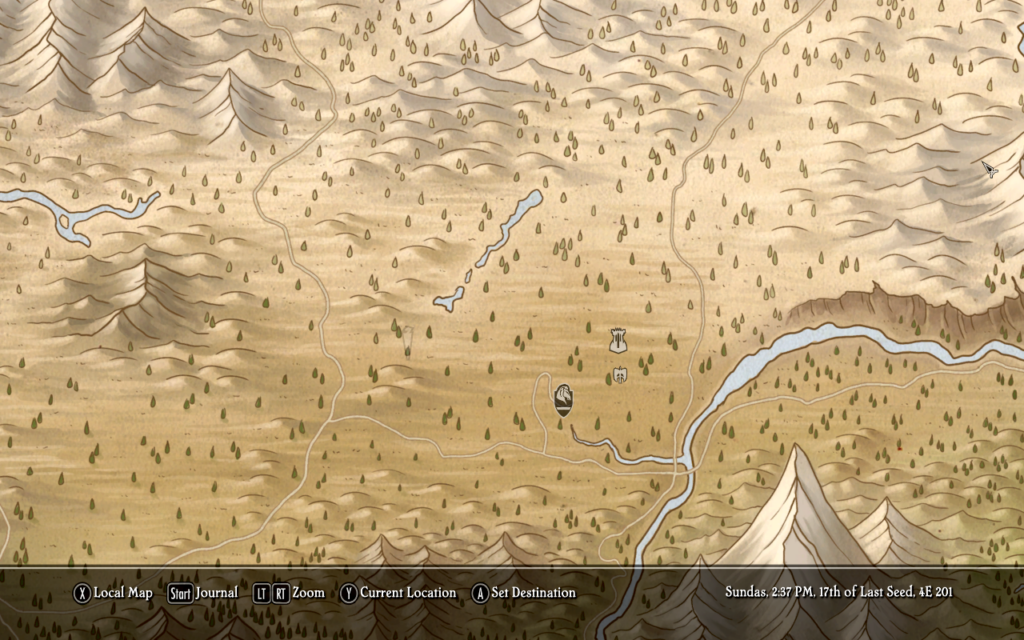
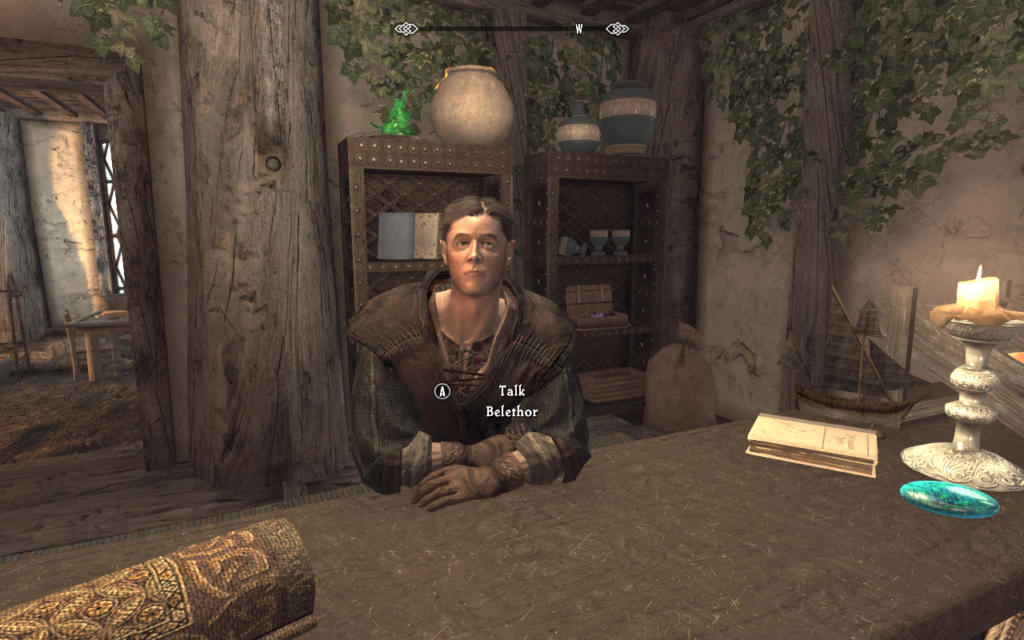
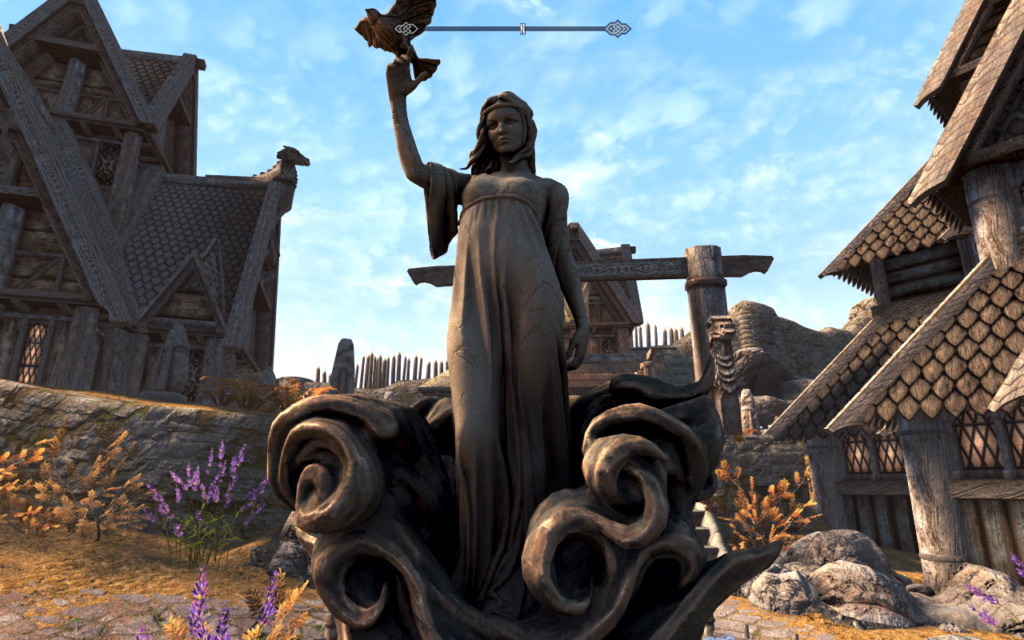
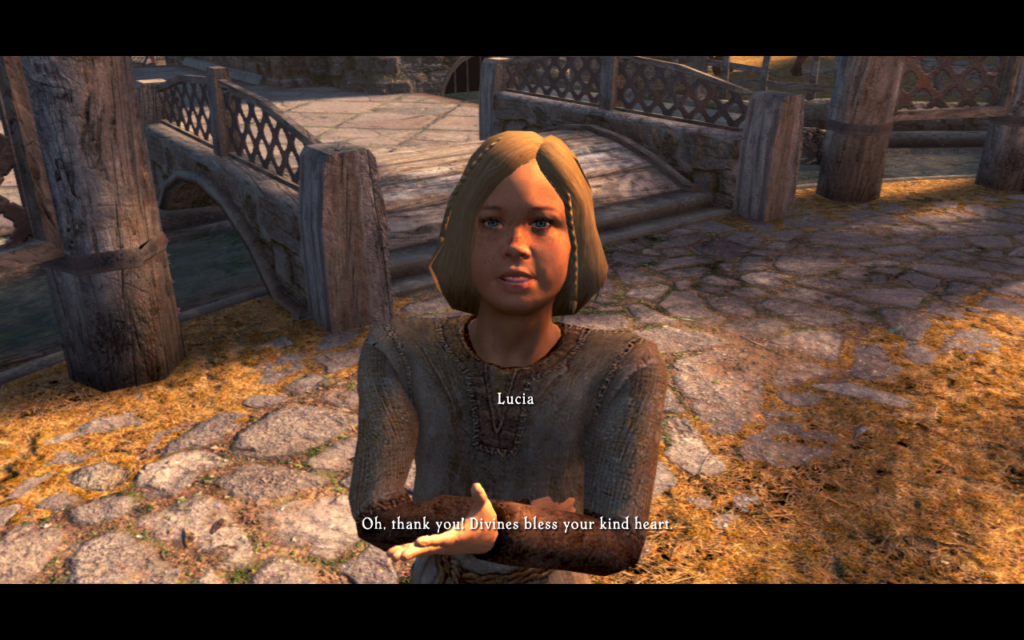
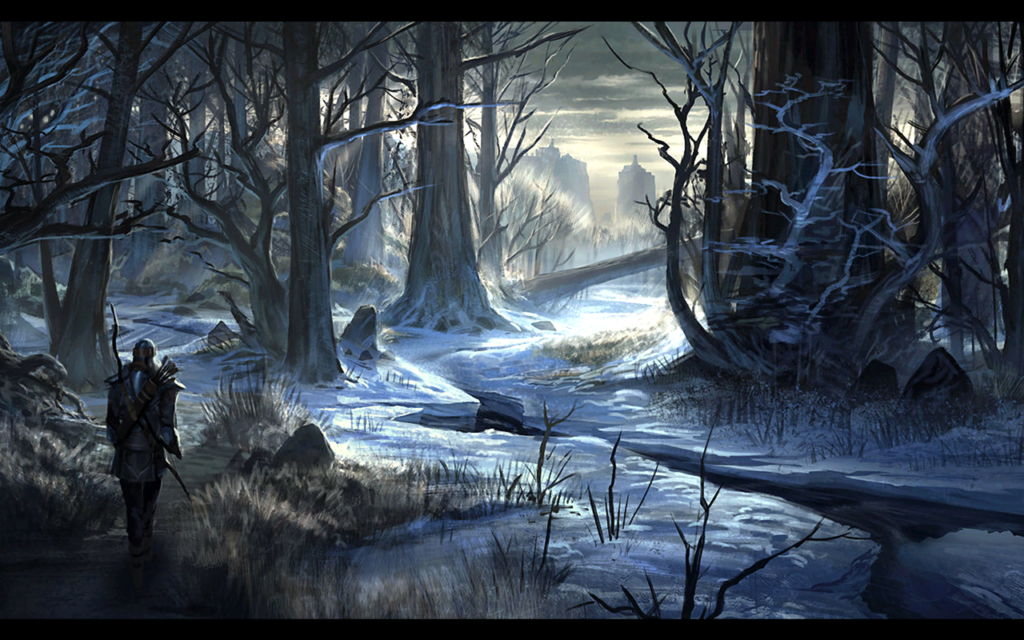
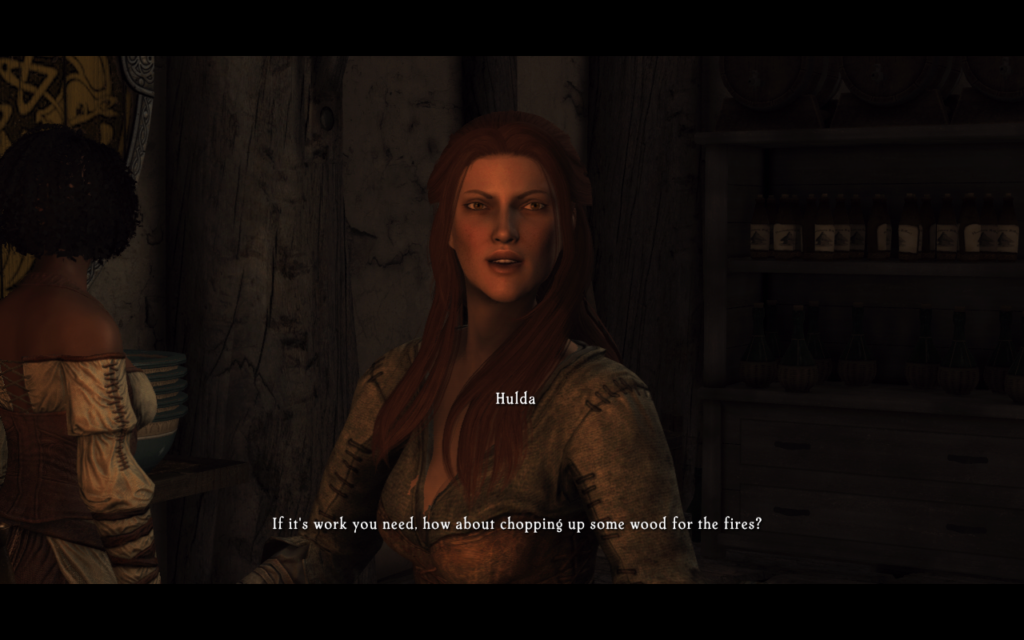
Here, have some screenshots of my tests!


Reference links
Useful links for reference, if anybody wants to give this modpack a try!
- Load Order Library page for Tuxborn, where you can see the entire load order
- GitHub repo for Tuxborn
- Guide to installing Wabbajack on the Deck
- Using the omni-guides.sh Automation Script
- Guide to manually configuring Tuxborn on the Steam Deck
Editing to add
- 11/2/2024: Forgot to go into the slight problem I had with setting game resolution, so I’ve added what happened and what I did to fix it. Also added links to the guide to manually configuring Tuxborn on the Steam Deck, which was helpful in solving the resolution problem.