In Which Tembriel Frees Slaves and Slays a Necromancer
This session saw action on the northern shore of Vvardenfell, as Tembriel quested into Sha-Adnius and freed half a dozen slaves. And then reached Vas, where she teamed up with Ulyne Henim to take out a necromancer there.
Highlights
- Play date: 9/10/2022
- Session number in this run: 17
- Returned to Balmora from Vivec
- Bought some Journeyman’s hammers from Wayn and repaired all my gear
- Dropped off a few things at Mages Guild
- Swung by Fort Moonmoth to find the two contacts mentioned by Caius, and pick up supplies from them
- Took silt strider to Ald’ruhn, then silt strider to Maar Gan from there
- Started hoofing it; killed assorted critters, several of whom were either diseased or blighted, so left their remains alone
- Reached Yesamsi, but did not engage
- Reached Shishi, but did not engage
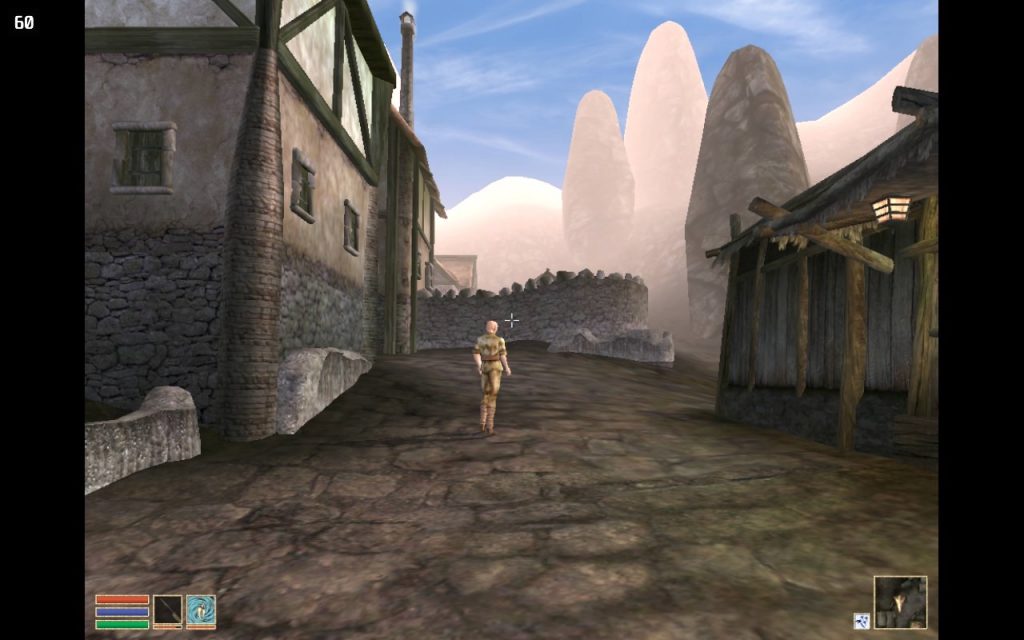
- Reached Sha-Adnius, and did engage; killed three slavers and freed six slaves; got as much loot as I could carry; moved on from there
- Found shrine at Assurnabitashpi; killed two clannfear and a nix hound outside of that, but then got killed by a flame atronach, DOH
- But only thrown back to Sha-adnius because I frigging remembered to quicksave
- Re-ran Sha-Adnius; this time there was skooma and moon sugar in the loot; re-freed the slaves; this time slept in the hammock to heal up, and then pulled an amulet retreat to sell loot
- This landed me in Gnisis, so I silt stridered back to Ald’ruhn and then to Balmora
- Sold a bunch of things to Ra’Virr, including the moon sugar and skooma
- Grabbed remaining hammers from Mages Guild stash and worked on armor repair
- Threw gold at Mages Guild trainers
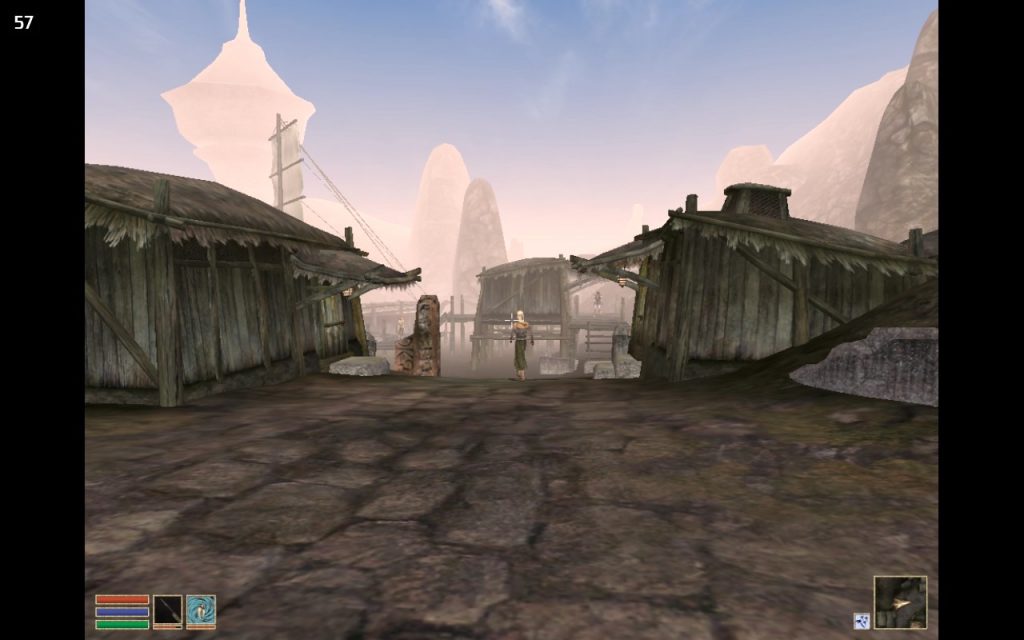
- Then silt stridered to Ald’ruhn and then to Khuul
- Took boat from there to Dagon Fel and started hoofing it towards Vas
- Got killed by orcs that seemed to be guarding a shrine, possibly a shrine of Malacath? Could have been Assurdirapal but unconfirmed
- Thrown back to Khuul, so re-did boat to Dagon Fel
- Found the Sanctus Shrine
- Accidentally triggered Amulet of Almsivi so got thrown back to Gnisis
- Rolled back to previous quick save from that and re-found Sanctus Shrine
- Finally figured out how to use the Steel Blade of Heaven so levitated over to the right island
- Found Ulyne Henim, the NPC I needed to find for the Fighters Guild quest
- Started running Vas
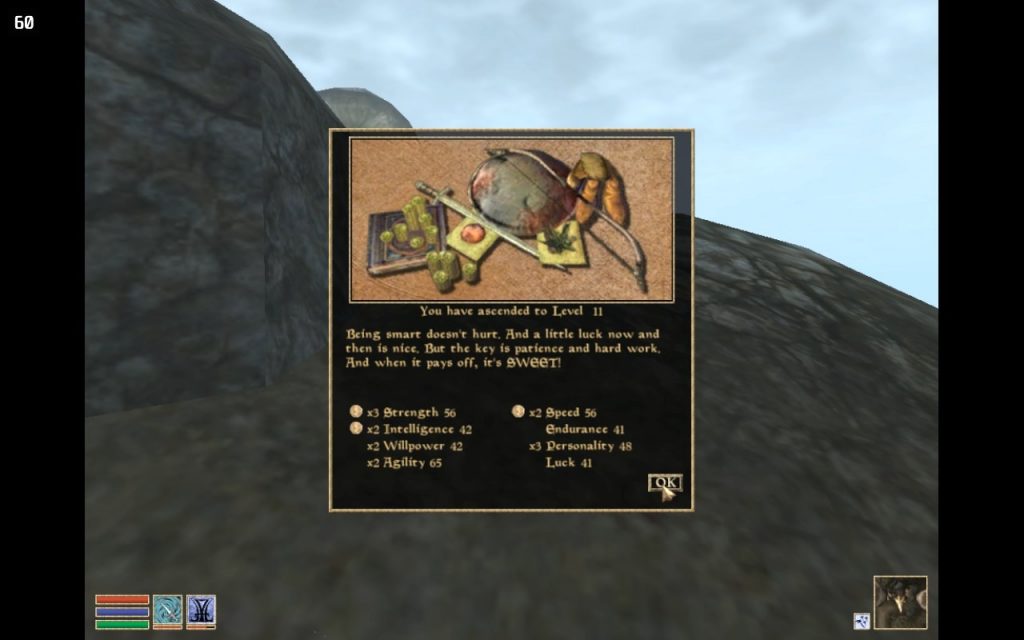
- Leveled up to 11 after killing first couple of undead; ducked outside so I could rest to trigger the level up; took points in Strength, Intelligence, Endurance
- Then went back in and finished running the place
- Got my strength knocked down by a Greater Bonewalker but not severely
- Killed once by a couple of dremora inside the door to the tower, but took them out second time through
- Successfully reached and killed the necromancer and got thanks from Ulyne (though I didn’t get her disposition up high enough for the commendation, damn)
- Before I left, looted the necromancer’s quarters because seriously, fuck that guy; got several pricy books
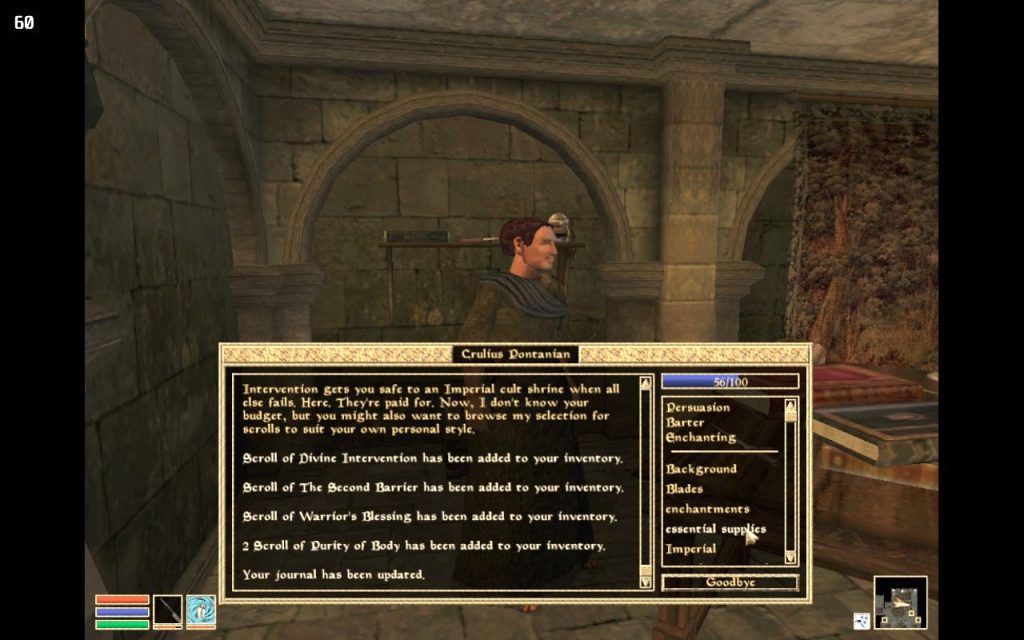
- Did Scroll of Divine Intervention to boing back to Gnisis
- Sold just enough of the common loot there to make enough gold to get back to Ald’ruhn via silt strider
- Checked in at the Fighters Guild there and got payment for the job; also got promoted to Protector
- Sold all the books at the bookseller, and repaired my armor at the smith’s; sold the dreugh club I got off the dremora
- Saved there for the night
Commentary
I went into this session with the main goal of running The Necromancer of Vas for the Fighters Guild, and possibly also visiting that Ashlander camp to progress the main plot since in theory they were roughly in the same area of the map. But as it turned out, I didn’t find the Ashlanders. I did however find Sha-Adnius, where I got to free six slaves and take out some slavers.
But let me back up.
Definitely a lot of boinging around in this session, as I tried to figure out exactly where I needed to get to to achieve one or the other of the plots I was hoping to do. This got me some opportunities to work on combat, by killing critters in the wild–several of whom were diseased or blighted, it turned out. Yuck. So far I’ve found that I can usually, but not always, handle diseased corpses. I still got some ingredient drops a couple of times that way.
But I’ve also gotten a disease at least once as well, which seems like a chancy thing to risk.
(I do know there’s a plot point coming later that’ll solve this problem for me, mind you. But until I get to that point, it seems unwise for me to risk getting diseases! So I need to remember to not handle diseased or blighted remains as a rule.)
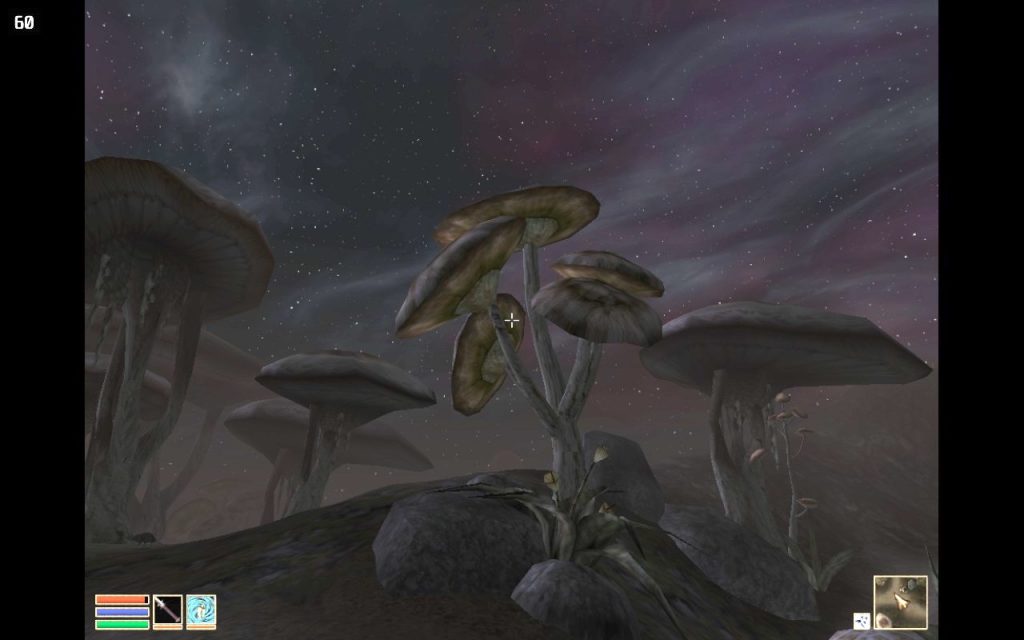
I found a couple of locations for the map which I didn’t bother to engage with, once I looked them up on the wiki. But Sha-Adnius, the third one, promised me some opportunity to free some slaves. So I jumped on that!
No real challenge from the three slavers in there, and it was satisfying to be able to free six slaves in one go. And see their dispositions all jump up significantly. Yay. <3
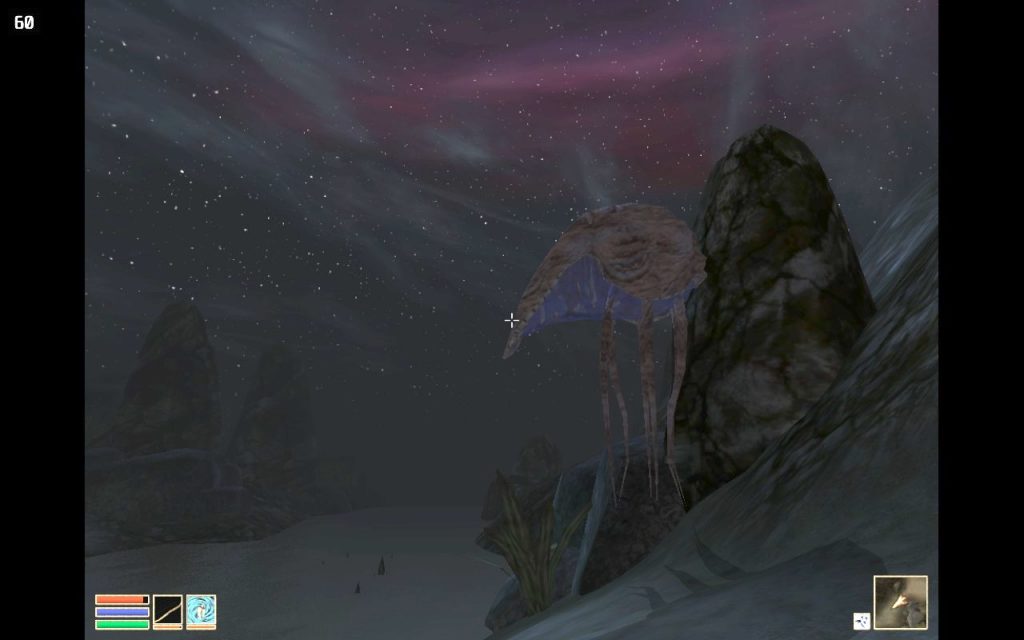
As it happened I had to run Sha-Adnius twice, though, thanks to also running into my first flame atronach. Which was very, very sudden, near Assurnabitashpi (say that five times fast). I didn’t really get a good look at it, just enough to notice that yeah, I definitely like the look of flame atronachs better in Skyrim.
The next death of the session was also near a shrine–which may or may not have Assurdirapal, though I didn’t get close enough to confirm. But given that I was killed by Orcs there, it seems like a safe bet that it was indeed that shrine of Malacath.
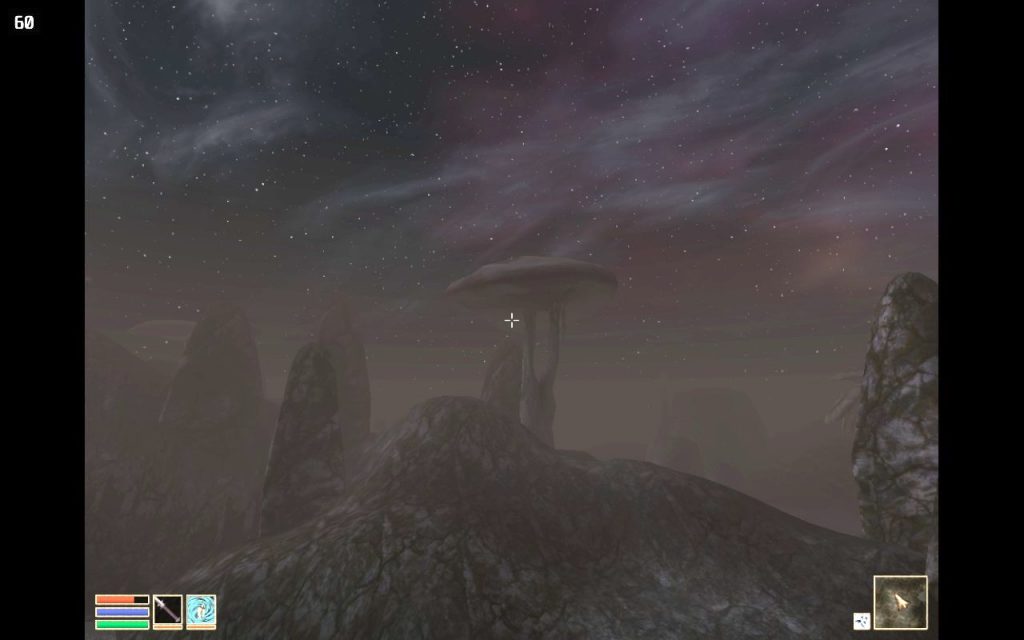
And working my way towards Vas also finally gave me an opportunity to figure out how the hell to use the Steel Blade of Heaven. This was not intuitive, given that it’s a weapon. I had to figure out that I can’t just wield the thing and try to swing it. It has to be queued up the same way as any other magic item, and I have to hit the left bumper for Ready Spell, rather than the right bumper for Ready Weapon.
There’s also no really obvious visual cue to signify that I’m levitating, either, no glow or anything like that. But this did let me levitate over the water between the little islands I’d reached at that point. Very handy, for purposes of avoiding slaughterfish!
It was a little weird to hear Ulyne in battle, just because she has the same voice type as other Dunmer females I’ve fought with this character so far. So she started throwing several of the same combat lines. LOL.
Running into the Greater Bonewalker was not nearly as much of an issue as it was in Odirniran–in no small part because I pelted the fucker with arrows, and because I was prepared with my Restore Strength spell. But I’m definitely going to need some kind of enchanted thing to regenerate magicka, if that’s possible. I’m going to have to see about doing some more soul trapping, clearly. I need to fill up some soul gems!
The dremora were challenging, but not hugely so. So far the lesson I take from this is to be damn sure I have range weapons to pelt these guys before they reach me. Especially given that I’ll need to re-run Odirniran soon, and there will be a respawned dremora there too.
I was surprised, though, that the necromancer was not more challenging! Took him out fairly quickly.
And now I’m Protector rank in the Fighters Guild!
Next time
Probably going to head back north again to try to find those Ashlanders. But a bit of a resupply while in Ald’ruhn is called for before I do that!
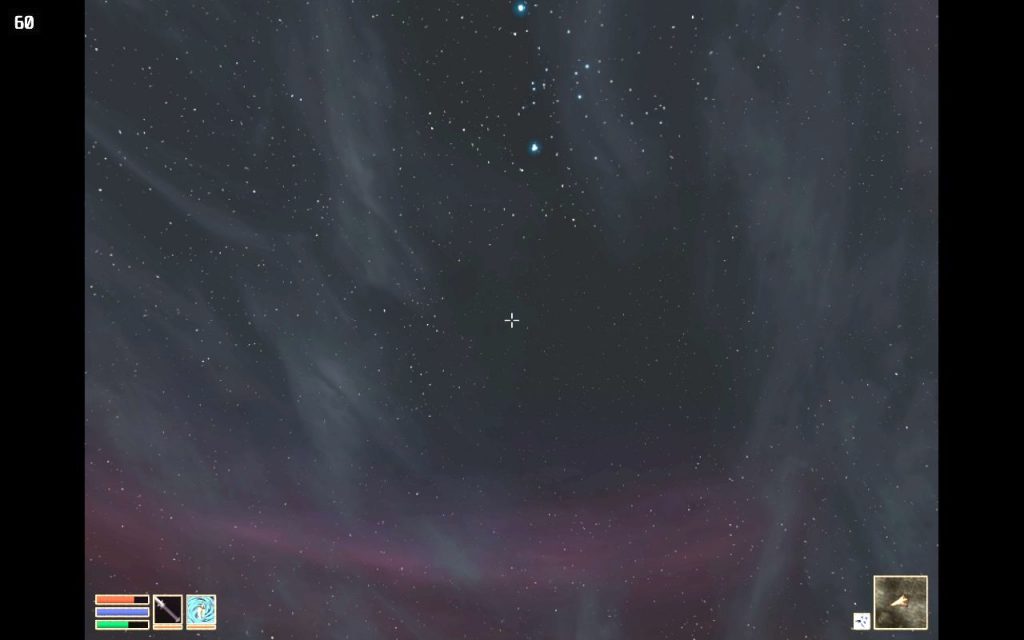
Screenshots

Editing to add
- 11/23/2023: Restored missing gallery.
- 10/10/2024: Converted gallery to native WordPress one.
Angela Korra'ti
As Angela Highland, Angela is the writer of the Rebels of Adalonia epic fantasy series with Carina Press. As Angela Korra'ti, she writes the Free Court of Seattle urban fantasy series. She's also an amateur musician and devoted fan of Newfoundland and Quebecois traditional music.